AN ACCOUNT OF FITTING A MOTOR MOVER
19th March 2002.
For some time now Margaret and I have been considering having a motorised caravan mover fitted. We had often found ourselves in situations where reversing the van onto a pitch into the right position was not possible. Likewise at home we can’t fully reverse the van into the back garden and the last part is up an incline. We have also reached the conclusion, as we get older, that straining to push increasingly heavier caravans around pitches is not that good for us!
In February we went to the NEC to look at the three main makes. The three are the Carver, Powertouch and the Reich Move Control. On the Carver/Truma stand we could not attract anyone’s attention so we gave up on this, it was also the most expensive. We were impressed with the chap on the Powertouch stand who was very enthusiastic. The only problem was the offer they were doing for the show included an accessory, which allowed you to snap the rollers onto the road wheels from one side of the van. As we did not really need this, we they moved onto the Reich stand. This was the mover that had been recommended to me by several people on the uk.rec.caravanning newsgroup, so using this recommendation and our own visual assessment of this unit; we went ahead and ordered the Reich.
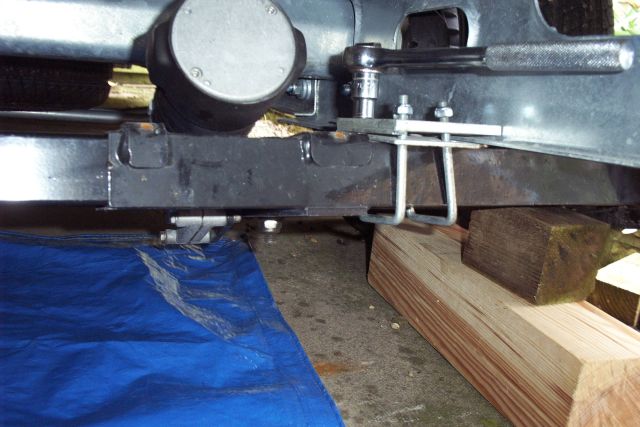
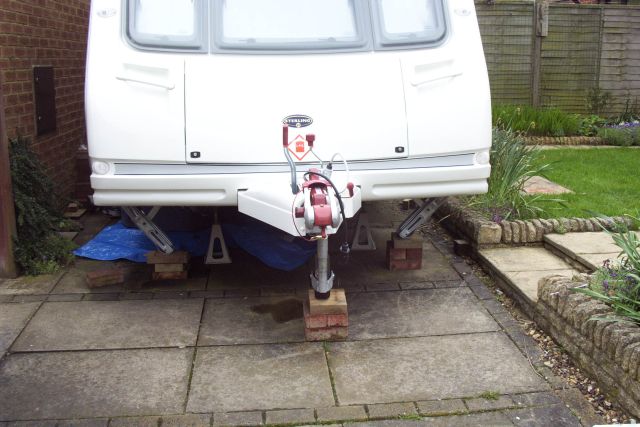
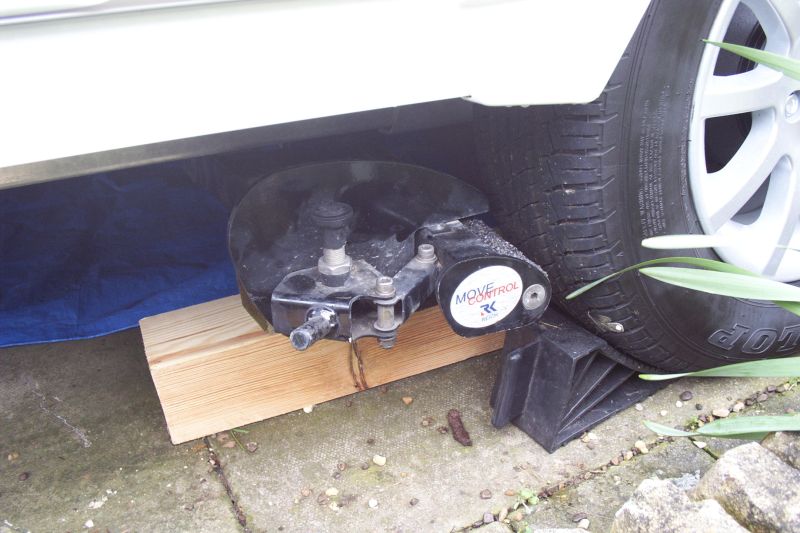
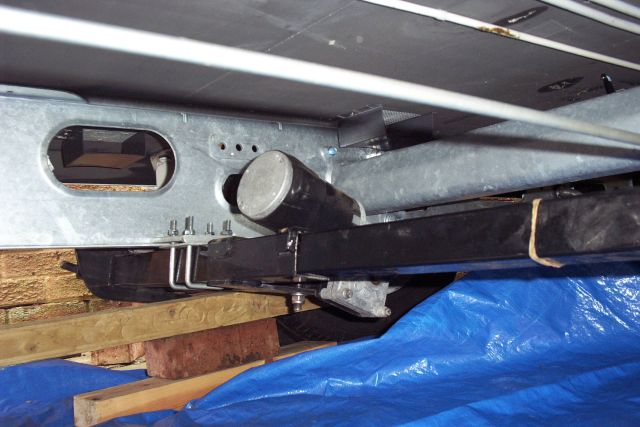
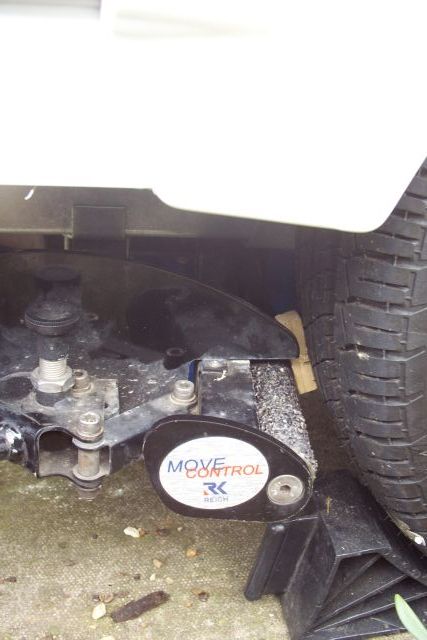
The day our Reich Move Control arrived was, unfortunately too wet to start the fitting process. However the next day dawned bright and so by 9.00 I was out getting ready to fit the mover. The heavy work took about two hours and the rest of the wiring another two hours. First of all you must make room under the van to safely work. What I did was the raise the front of the van up on secure blocks so that I could work reasonably comfortably under the van. You really have to make sure that the van is secure in this position. The mover comes in three parts that ideally should be assembled under the van. It will depend if you are doing it yourself or whether you have help. There is a square sectioned metal shaft onto which you fit both motor units. It is important that the shaft is centred; I used an elastic band as a guide. It is a good idea to have some wooden blocks handy so that you can gradually move the whole assembly towards the chassis so that you can attach the U bolts which secure the mover in place. The U bolts extend round the central metal bar and into metal sections that clamp onto the chassis. At this stage everything is still only loosely assembled. Before final tightening you have to ensure that the motors are correctly aligned with the road wheels and correctly spaced otherwise the rollers that drive the wheels will not lock on. Once you are certain everything is tightened up. The final job in the assembly of the drive units is to fit two small clamps onto the chassis that prevents the whole unit moving forward which stops proper locking on to the caravan wheels.
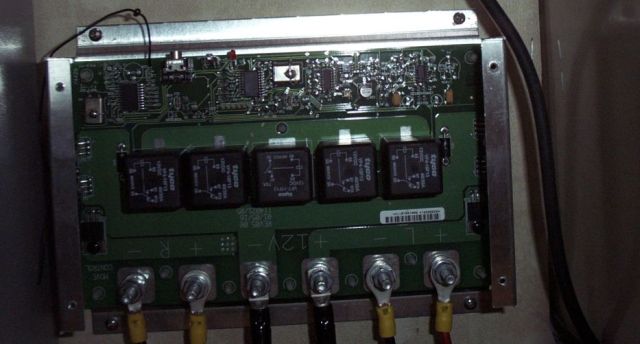
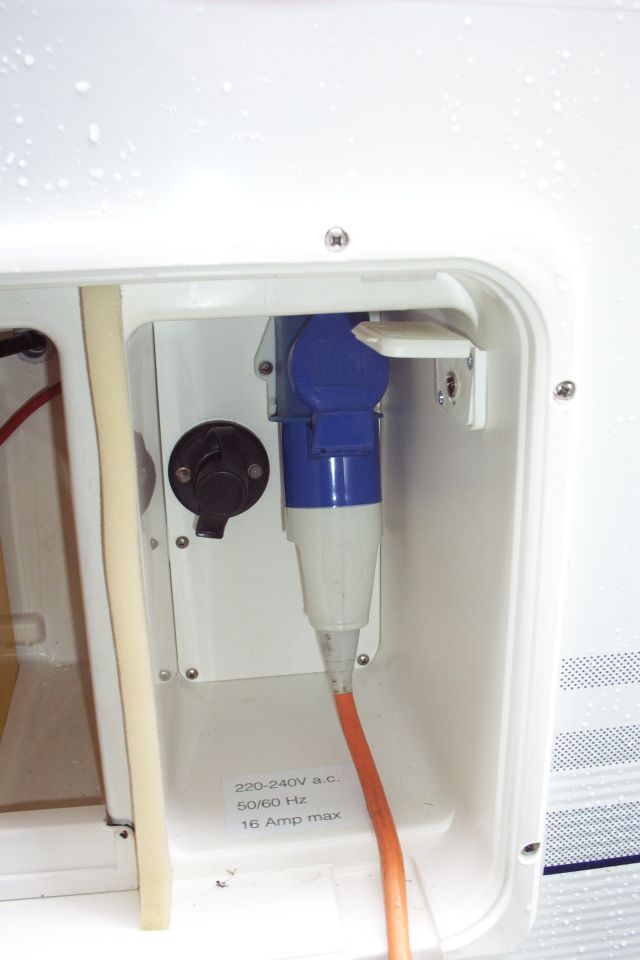
Next job is to install the electrics and control panel. I found it easiest to work from the motors back to the control panel. You also have to make sure you get the wires in the right order otherwise the Mover won’t go where you want it to! You will need to drill holes through the caravan floor. Make sure you use a drill bit only just large enough the get the wires through and also remember to put some silicon sealer around the holes to keep out road spray and damp. All wires should be of equal length so the wires from the furthest motor may need to be coiled to get the right length. The control panel needs to be situated fairly close the battery. The instructions are perfectly clear on how you should connect up all the wires. You get supplied with a battery isolation switch that you fit between the battery and the control unit. Ideally this should be accessible from the outside of the van to allow easy use.
When every thing is connected up its time to see if every thing is working OK and also to have a caravan battery in good condition. Then the magic moment when I initialise the remote control and Hey Presto the rollers burst into life but the real test was to see if it would actually move the van so the rollers were locked into place and the remote control button pressed, the van moved, back, forward and anywhere in-between. We even decided to
try and get the van out of the garden and back in again; unfortunately the battery ran out before we got it back in! Now Margaret and I are not infirm but we thought that the luxury of a caravan mover would help us a lot. It could mean that we don’t have to spend extra money on replacing gates into the garden. I could mean that we don’t have to man handle the van on continental sites where access is not as good as we would have liked. Only time will tell but we are both excited about using it, for real, for the first time.
In 2004 we changed the van so I had to remove the mover from the old van and install it on the new. This seemed a straightforward process. I had made allowance in the cable length just in case we changed vans. I did invest in new locking nuts for the U clamps but otherwise there was no other investment. I suppose this illustrates that despite the high initial investment it can be used on any van (single axle). The new van is also 200kgs heavier but
that does not seem to make any difference to performance.
In Use
The first few sites we used after fitting the mover we were able to easily reverse straight back into, Murphy’s Law!! However we have found the mover invaluable in getting the van back into our garden. It is also useful when you want to get one side up on blocks. You can position the hitch right over the towball with the minimum of effort. We don’t regret one penny of the money we spent on it. Whilst in the South of France we discovered that it was also quite good in sand that is if you forget the jockey wheel, which tends to dig into the sand. On our original caravan we did have a problem with there being no power left in the leisure battery, after a long journey but this was due to the fridge taking all the power out of the battery. So far on the new van it has been fine. You do need to make sure you have a good quality battery, as the mover will drain one pretty quickly. We still use a 85-amp hour battery but a 110amp hour one would be better if you have room.