New Table for Lounge
In both motorhomes we have owned we have felt that the supplied table is far too large, and heavy, for our day to day needs. We rarely have guests in the van so the need for a larger table is not really necessary although we do occasionally use the supplied table on the rare times we eat outside.
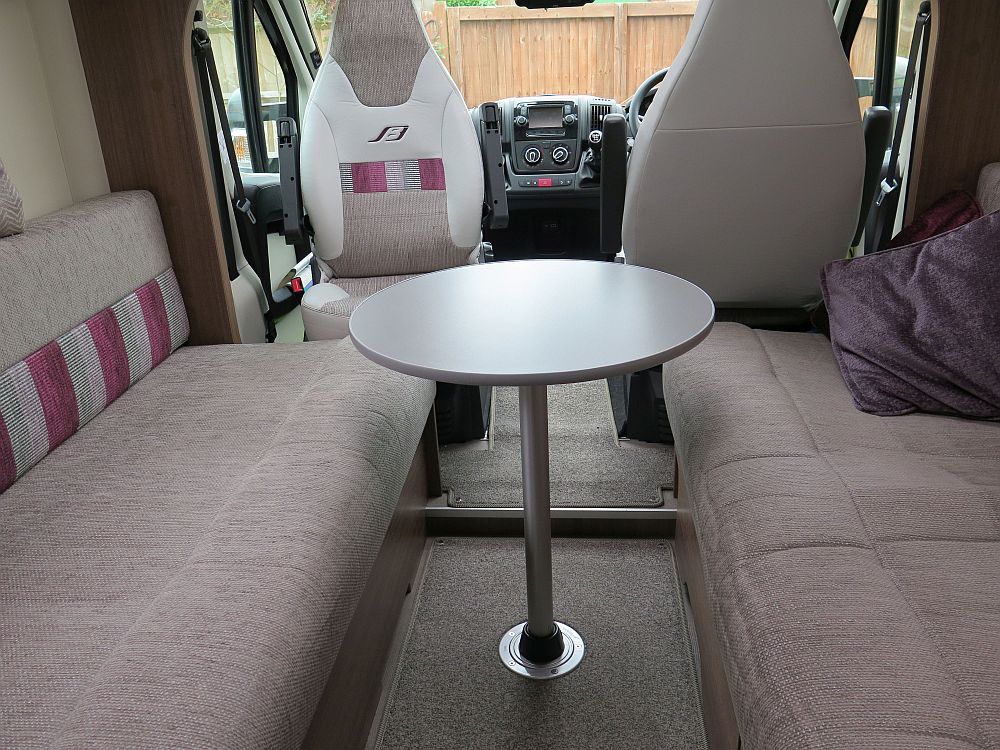
This set me in search of an alternative. By means of a plywood mock-up we were able to decide on size and whether it should be square or round. We both sat in the van with this wonky mock-up, even at one stage adding dinner plates to check to see if they would fit. We decided that a round shape of 60 cms diameter would suit us best as it would allow room to get round if needed. The next question was whether it should be in a fixed position or whether we should employ a swing arm to mount the table top on. In the end we decided on a fixed but, obviously, removable table leg design. What we discovered was that there was not a lot of choice out there, particularly in colours. An internet search brought up a company called Clearcut Conversions who specialise in selling equipment to convert vans into campers. For our purposes they sold a Sequoia Leg kit and a table top for £110 which was a reasonable price. It was ordered on the Sunday and arrived on the Tuesday, so pretty speedy service.
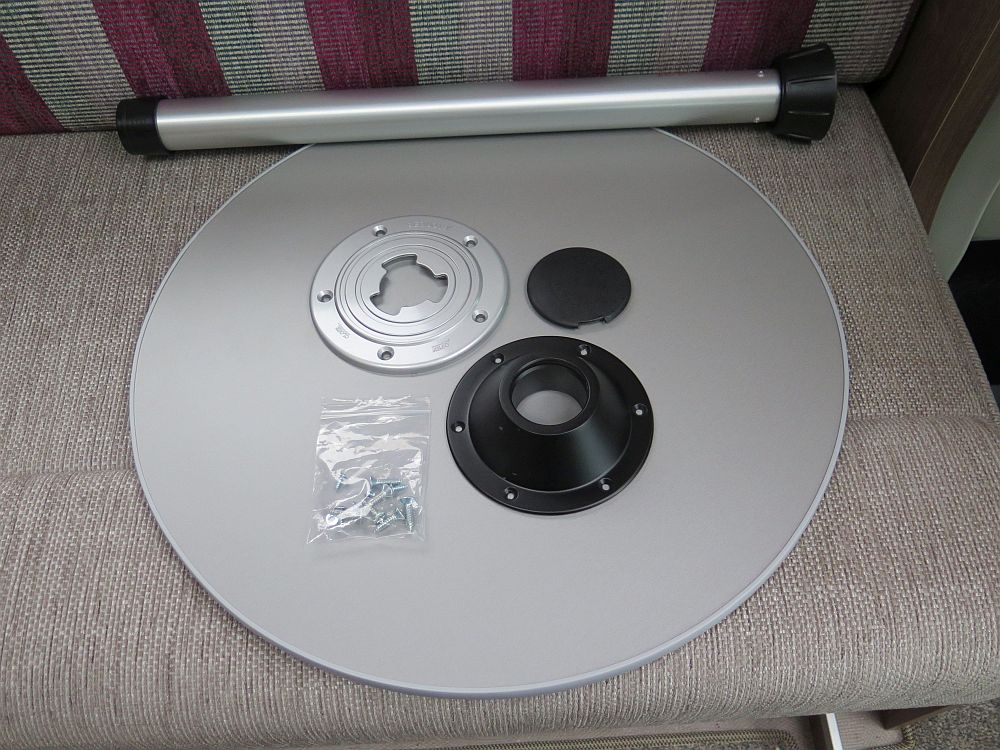
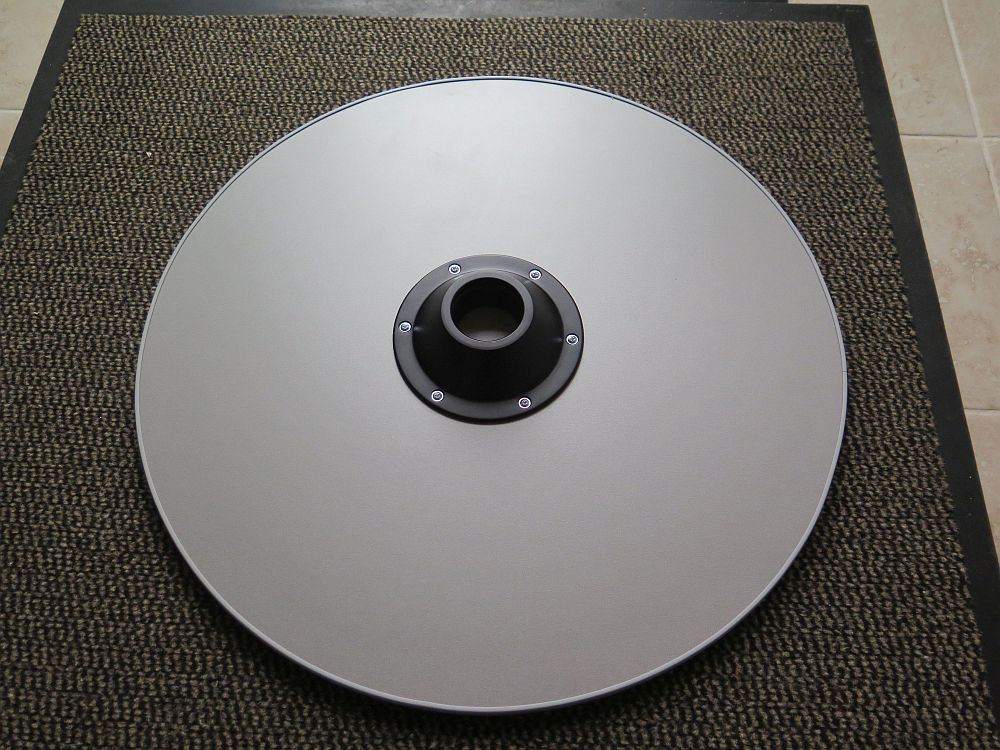
The first task was fitting the upper collar to the underside of the table top. First you need to mark it centrally on the table top. I found measuring in from the edge until it was equal distance from four points around the table worked. I decided that it did not need to be millimetre perfect! Now for the most difficult part of the job, drilling into the table top and avoiding going all the way through! It was held in place with self tapping screws so you only need a hole deep enough to get the screw going. Fortunately I was successful in not drilling all the way through and fixing the collar in place was easy.
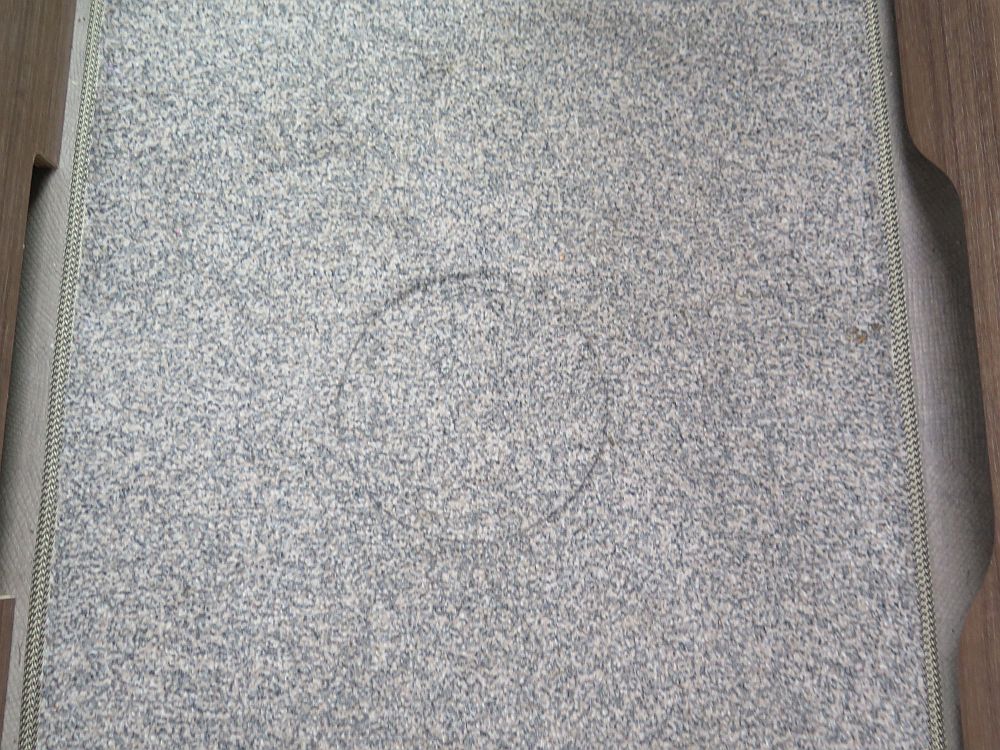
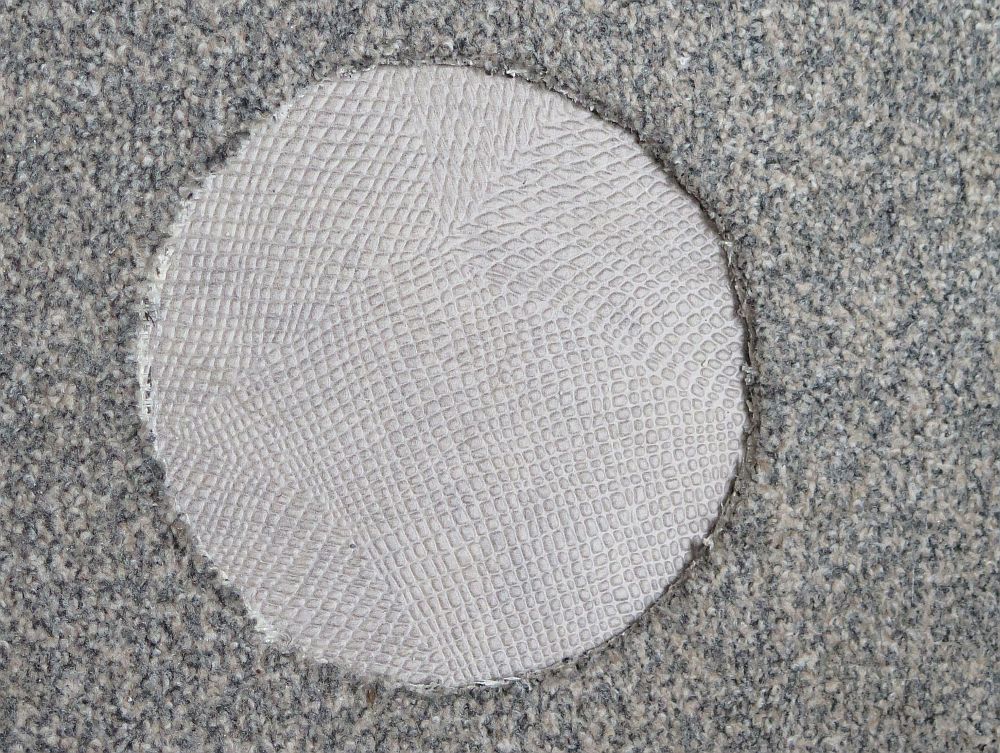
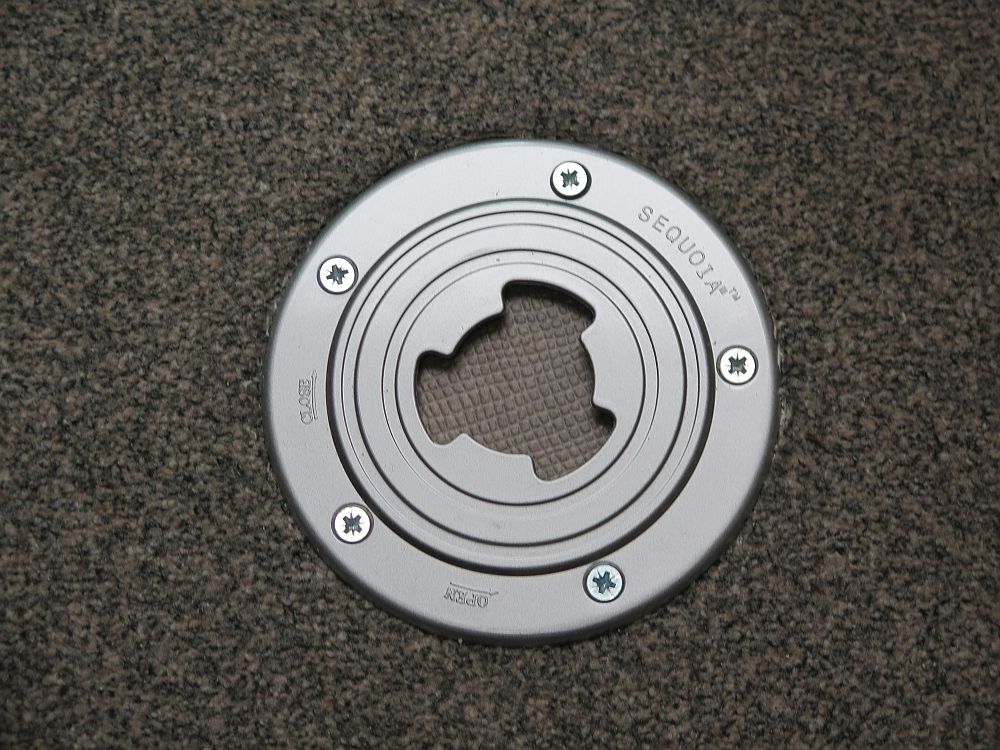
Next was the tackle the floor plate. Where the table is positioned the Bailey has a double floor and the screws provided were short enough not to protrude below this section of floor. First job was position the floor plate on the carpet so that I could cut out the carpet. Once that was done I was able to fix the floor plate in place.
The floor plate is held in place with quite thick screws so it should be quite solid. When not in use the is a little plastic cover that fits into the hole so you won't trip over it!
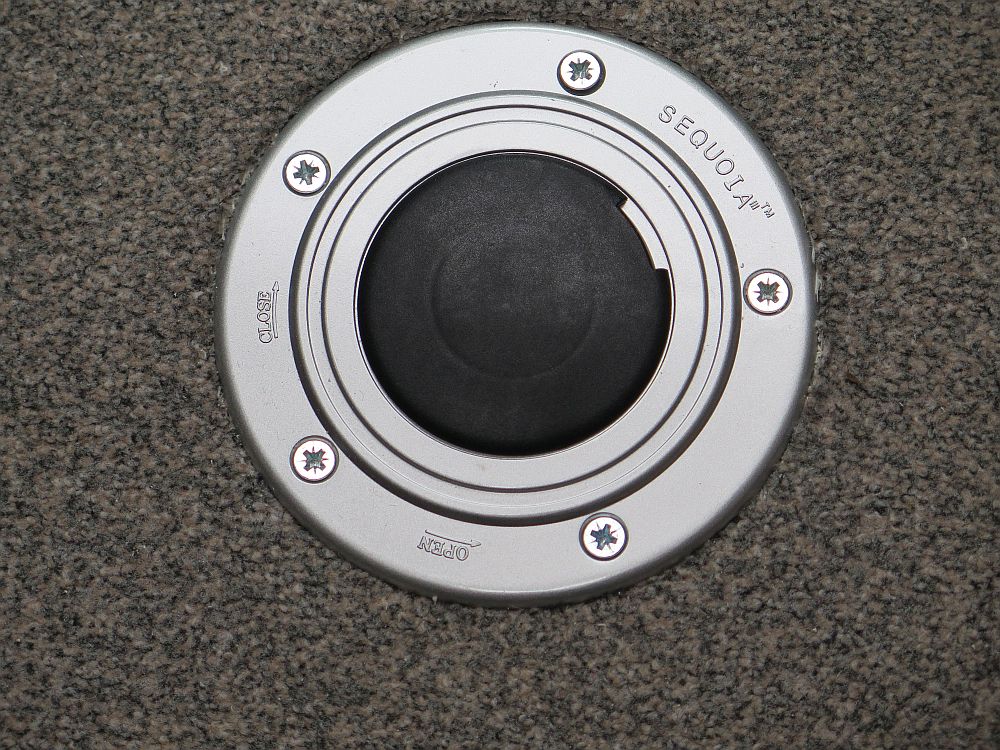
All that was left to do was to fix the leg into the floor plate which is done by lining up the lugs and twisting. For extra stability there is a plastic collar that screws down onto the base plate. Removal is just a reverse. The table top can also be removed from the table leg for easier storage when not in use. A minimum set of tools was required for the job, crosshead screw driver, drill, scissors for cutting the carpet and a pencil and tape measure so not really a demanding job which can be completed in about an hour.
![]()